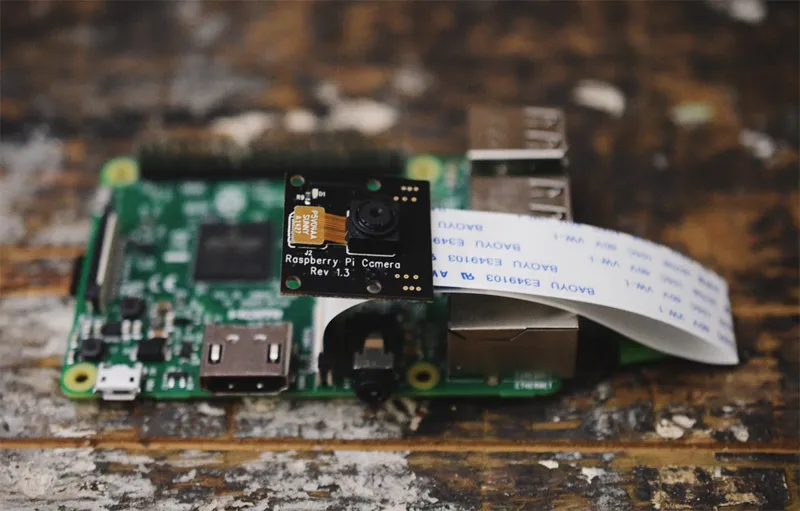
First run raspi-config and enable the Pi to work with the camera module:
$ sudo raspi-config
Select ‘5 - Interfacing Options’ and then ‘P1 Camera’. Enable the camera by highlighting ‘
No enable a module option to improve the camera modules picture quality.
	$ echo 'options bcm2835-v4l2 gst_v4l2src_is_broken=1' | sudo tee -a /etc/modprobe.d/bcm2835-v4l2.conf
	$ echo 'bcm2835-v4l2' | sudo tee -a /etc/modules-load.d/modules.conf
Reboot, and your Raspbery Pi Camera will be available within the browser:
<!DOCTYPE html>
<html lang="en">
<head>
  <meta http-equiv="Content-Type" content="text/html; charset=UTF-8">
  <title>ASCII Mirror</title>
  <style>body {margin: 0;}</style>
</head>
<body>
  <video id="player" autoplay="true"></video>
  <script>
    "use strict";

    (function(){
      // Canvas and video HTML elements.
      var eVideo = document.querySelector("#player");

      // Work out the dimensions of our canvas.
      var iVideoWidth = 640;
      var iVideoHeight = 480;

      var oVideoOptions = {
        mandatory: {
          maxWidth: iVideoWidth,
          maxHeight: iVideoHeight
        },
        optional: []
      };

      var oMediaOptions = { audio: false, video: oVideoOptions};

      if (!navigator.getUserMedia) {
          navigator.getUserMedia = navigator.getUserMedia ||
                                   navigator.webkitGetUserMedia ||
                                   navigator.mozGetUserMedia ||
                                   navigator.msGetUserMedia;
      }

      if (!navigator.getUserMedia){
        return alert('getUserMedia not supported in this browser.');
      }

      navigator.getUserMedia(oMediaOptions, success, function(e) {
        console.log(e);
      });

      function success(stream){
        eVideo.src = window.URL.createObjectURL(stream);
        setTimeout(function(){window.location.reload(true)}, 300000);
      }
    })();
  </script>
</body>
</html>
Hi! Subconsciously you already know this, but let's make it obvious. Hopefully this article was helpful. You might also find yourself following a link to Amazon to learn more about parts or equipment. If you end up placing an order, I make a couple of dollarydoos. We aren't talking a rapper lifestyle of supercars and yachts, but it does help pay for the stuff you see here. So to everyone that supports this place - thank you.