
On OSX, a docker stack is a bit like an onion. There are a couple of layers between you and your docker container. Boot2Docker is a great little utility that installs all the different layers for us. As a quick overview, from the outside in we have:
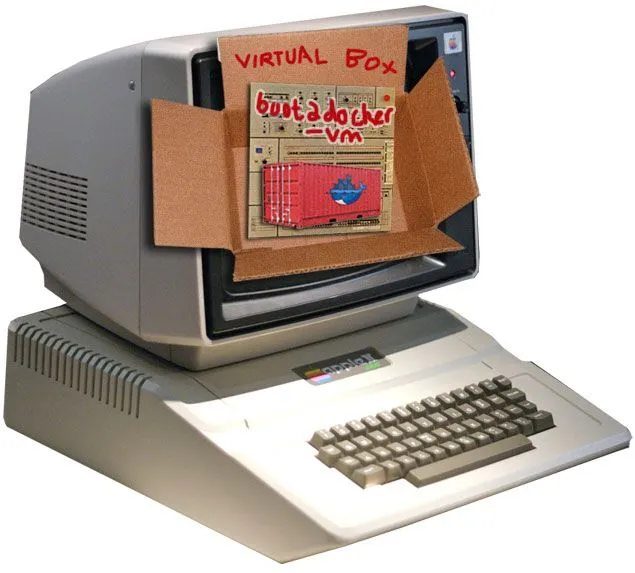
- Your mac. It doesn’t have the necessary goodies to run a Docker host natively.
- Boot2Docker installs VirtualBox, this hosts a virtual machine that can run the Docker host.
- The boot2docker-vm, A Lightweight virtual machine designed specifically to run Docker containers.
- Your docker container. A self-contained environment to run your application.
For Android development we need to be able to get applications from our docker containers into phones and tables. Extra configuration is needed for docker containers to access USB devices.
By default, VirtualBox doesn’t come with USB devices support. The VirtualBox extension pack adds USB support, letting you connect an Android to VirtualBox:
- Download the extension pack.
- Open up the VirtualBox GUI.
- Select ‘VirtualBox -> Preferences’ from the menu.
- Select the ‘Extensions’ icon.
- Press the funny lookin' ‘yellow square superimposed on the blue box’ button.
- Browse to your downloaded extension pack, and press open.
Next we need to give the boot2docker-vm access to our Android device:
- Plug your Android into an available USB slot.
- Make sure the boot2docker-vm is ‘Powered Off’.
- Right click on the boot2docker-vm and select ‘Settings…’
- Select the ‘Ports’ icon.
- Select the ‘USB’ tab.
- Make sure both ‘Enable USB Controller’ and ‘Enable USB 2.0 (EHCI) Controller’ is checked.
- Press the ‘green plus superimposed on blue USB plug’ button.
- Select the Android device from the list. For me this was ‘Sony D2005’.
- Hit OK.
Copy this Dockerfile into your Android project. When you build the image, this will install all the Android prerequisites and the SDK. Set all your environment variables and update the SDK with some tooling. Finally it will copy your Android application from OSX into the docker image and compile it.
From the root of your Android project, the image is built with:
$ docker build -t your-android-project .
Now to ‘spin up a container’ on your Android. Well kind of. Docker won’t run a container on the Android. The docker container just uploads your application:
$ docker run --privileged -v /dev/bus/usb:/dev/bus/usb -i -t your-android-project adb install -r bin/your-android-project-debug.apk
The –privileged and -v /dev/bus/usb:/dev/bus/usb are the important options that allow your docker container to access USB devices ‘attached’ to the boot2docker virtual machine.
Comments:
You can join the conversation on Twitter or Instagram
Become a Patreon to get early and behind-the-scenes access along with email notifications for each new post.
Hi! Subconsciously you already know this, but let's make it obvious. Hopefully this article was helpful. You might also find yourself following a link to Amazon to learn more about parts or equipment. If you end up placing an order, I make a couple of dollarydoos. We aren't talking a rapper lifestyle of supercars and yachts, but it does help pay for the stuff you see here. So to everyone that supports this place - thank you.