
One of the most common problems for people starting out with their first 3D prints is getting the print to ‘stick’ to the build platform. Often you can’t even get the print to start correctly and you will be left with a ball of spaghetti. Other times you will get the print to start OK, but after a while the bottom of the print starts to curl and lift from the build platform. Eventually curling so badly, that the print gets knocked from its original position and you end up with a print where the bottom half is curled and twisted, while the top is a ball of spaghetti.

So what sorts of things can you try to stop your 3D prints from curling and lifting?
Level the print bed
The most common cause of starting with spaghetti prints is that the printhead is too far away from the build platform. When starting a print, the printhead needs to be very close to the build platform so that the little snail trail of molten plastic gets squished into the build platform to create a good bond.
The best way to level your print bed correctly is to follow these instructions from Triffid Hunter
- Take a sheet of paper and place it on top of your build platform.
- Move the print head to one of the four corners of the build platform and home the z-axis. This should “pinch” the paper between your print nozzle and build platform.
- Wobble the piece of paper and adjust the height of that corner using your thumb screws. Keep raising the platform at that corner until you can just feel a bit of tension on the paper, as the print head and build platform pinches close on the piece of paper.
- Repeat for each of the three other corners of the build platform. Aiming to get the tension on the paper roughly the same.
Add a ‘raft’
Another way to get a better stick between your print and the build platform is to increase the surface area of the base of the print. The bigger area where your print contacts the build platform, the better it will stick. Increasing the the size of the base of your print is done by adding a raft, a thin platform that your print rides on.
Many G-code generators can generate a raft for you, alternatively you could manually add the raft to your model in your favourite 3D modelling software.
Material
I found that not all PLA is equal. Like good food, good 3D prints require good ingredients! If you are having problems with your current plastic, try getting some from another vendor. My printing reliability went way up when I switched from cheap Chinese stuff, to awesome New Zealand stuff.
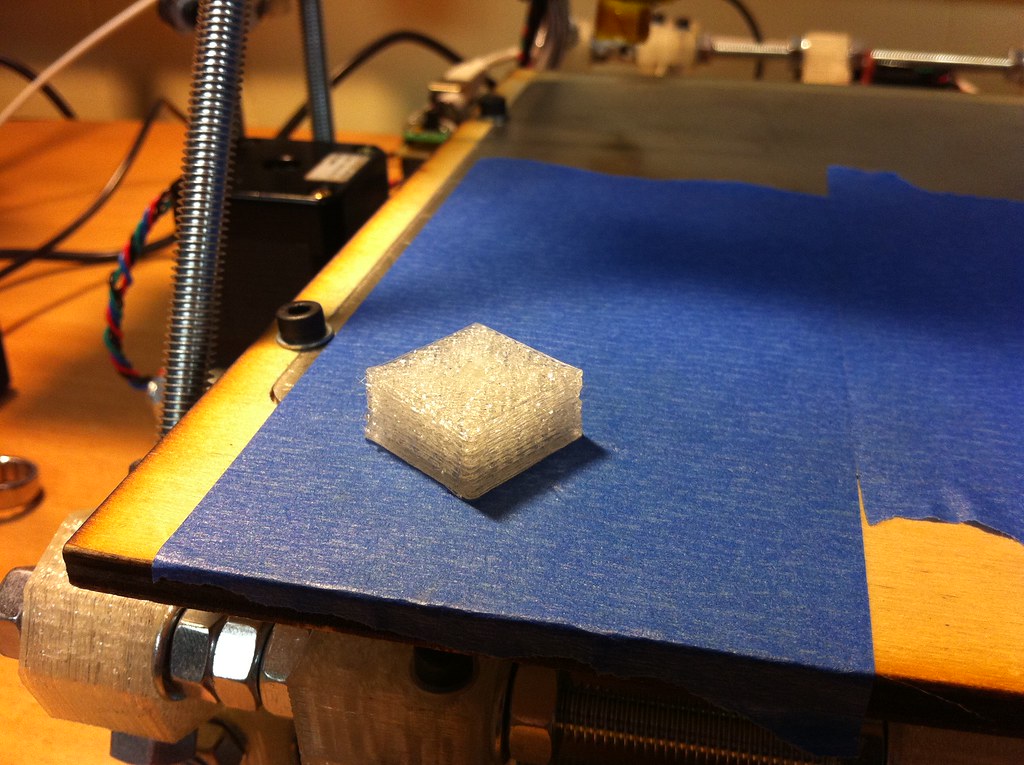
Blue painters tape
Cheap blue painters tape can be found at almost every hardware store near you. It has a slightly rough surface and soaks up a tiny amount of molten plastic. Adding a layer of blue painters tape to your build platform will solve most curling and lifting problems with small to medium sized prints. I still ran into issues with very large and time consuming prints, but everything that printed under an hour or two so seemed to come out alright.
Install a heated build platform.
Me? How do I avoid prints from curling, lifting and going crazy? I use a heated build platform sandwiched between a layer of sandblasted glass and plywood. I wrote detailed instructions on this setup a little while ago.
Kapton Tape
Have a sandblasted glass heated build platform, and still having troubles? First thing to try is a bit of Kapton tape. When heated it works better than painters tape (especially if you are printing with ABS). Kapton tape is pretty interesting stuff and was even used all over the lunar lander in the apollo missions.
The final trick worth a shot, is using a bit of hairspray on the build platform.
Comments:
You can join the conversation on Twitter or Instagram
Become a Patreon to get early and behind-the-scenes access along with email notifications for each new post.
Hi! Subconsciously you already know this, but let's make it obvious. Hopefully this article was helpful. You might also find yourself following a link to Amazon to learn more about parts or equipment. If you end up placing an order, I make a couple of dollarydoos. We aren't talking a rapper lifestyle of supercars and yachts, but it does help pay for the stuff you see here. So to everyone that supports this place - thank you.